
Published :
04/24/2021 20:11:15
Categories :
Sewing Tips
Sometimes, I get messages asking me what size to cut for an XS or 40 of ready-to-wear. I redirect people to the size chart and explanations on how to take your measurements, and add some personalised information. This response is not always estimated at its fair value, as it does not answer with a specific letter or number. However, choosing your size according to your measurements and not those of the high street to make a garment adapted to your body is the basis of custom-made sewing.
Indeed, just like the ready-to-wear brands, those of the sewing patterns are a base or an average of the body and cannot go to everyone without making one or more alterations.
This is why I'll go through some tips for choosing the right size or sizes to sew a garment for yourself.
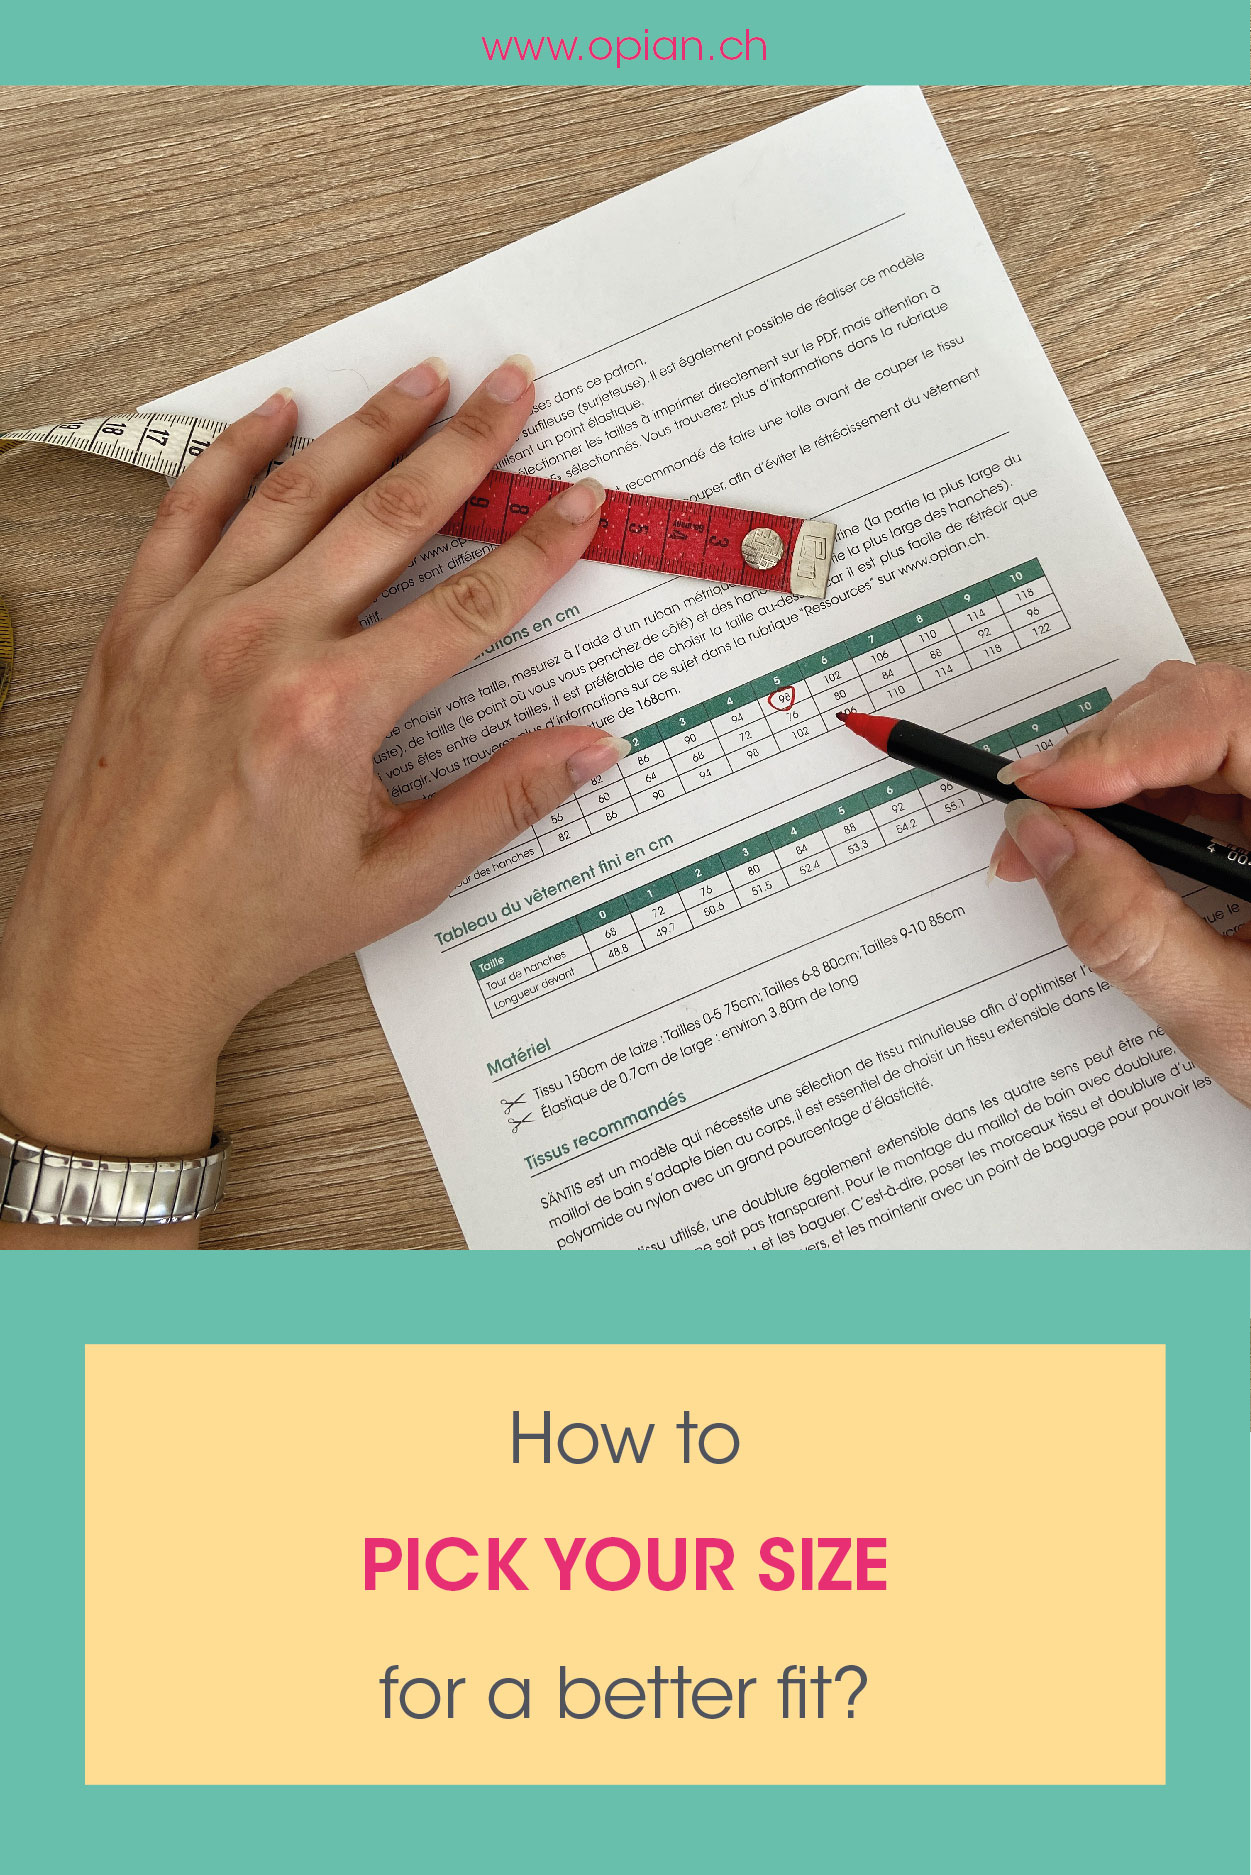
The first thing to do is to take your measurements. The most important are the bust, waist and hip measurements. To do so, stand in front of a mirror with your feet slightly apart and measure the different points using a tape measure. Be careful to keep it parallel to the ground without tightening or loosening. Or have someone to help you take them for you, it will be easier.
Then compare your measurements with those on the size chart. If necessary, choose the highest corresponding size if you are in-between two sizes. It is always easier to go smaller than larger. As mentioned above, the sizes are an average and you may need several sizes to adapt the garment to your body type.

Before you jump in and cut the pattern, I also advise you to look at the finished garment measurement chart. It will give you an indication of the rendering of the garment. It is true that these measurements are a little vague and that it is difficult to know what 20cm of ease at the hips gives in 3D. However, it gives you an idea of the fit.
We get to an important point which indicates to modify a pattern before cutting the fabric. If the difference is slight, maybe you can select the larger size and make the changes directly by trying on the garment before you finish it. On the other hand, if there is a bigger difference between the sizes, I advise you to adapt the pattern before cutting in the fabric. With Opian patterns, you can print the size or sizes you want, which makes the pattern more readable, and then make changes directly on it.
I know this step is not easy. Indeed, we always want to go directly into sewing our garment. However, making a toile is indispensable to have a garment that fits us like a glove. You might think that cutting fabric to make an item of clothing that you do not wear is a waste of time. However, it can be more economical and durable, because without this step you may never wear what you have sewn into the pretty and expensive fabric if, in the end, the garment does not fit you.
You can use any fabric, sheet, or whatever to make a toile. However, it should still look like the final fabric, otherwise it might look totally different.
In addition, depending on the garment you do not have to make an entire toile, you can only do the part that requires more adjustment.
As mentioned in the introduction, don't be fooled by what size you think you are! All brands size differently and most countries do the same. You will surely end up with an ill-fitting outfit.
In conclusion, we do not jump straight to cutting a pattern without checking first. Your clothes will only be more beautiful!
![]()