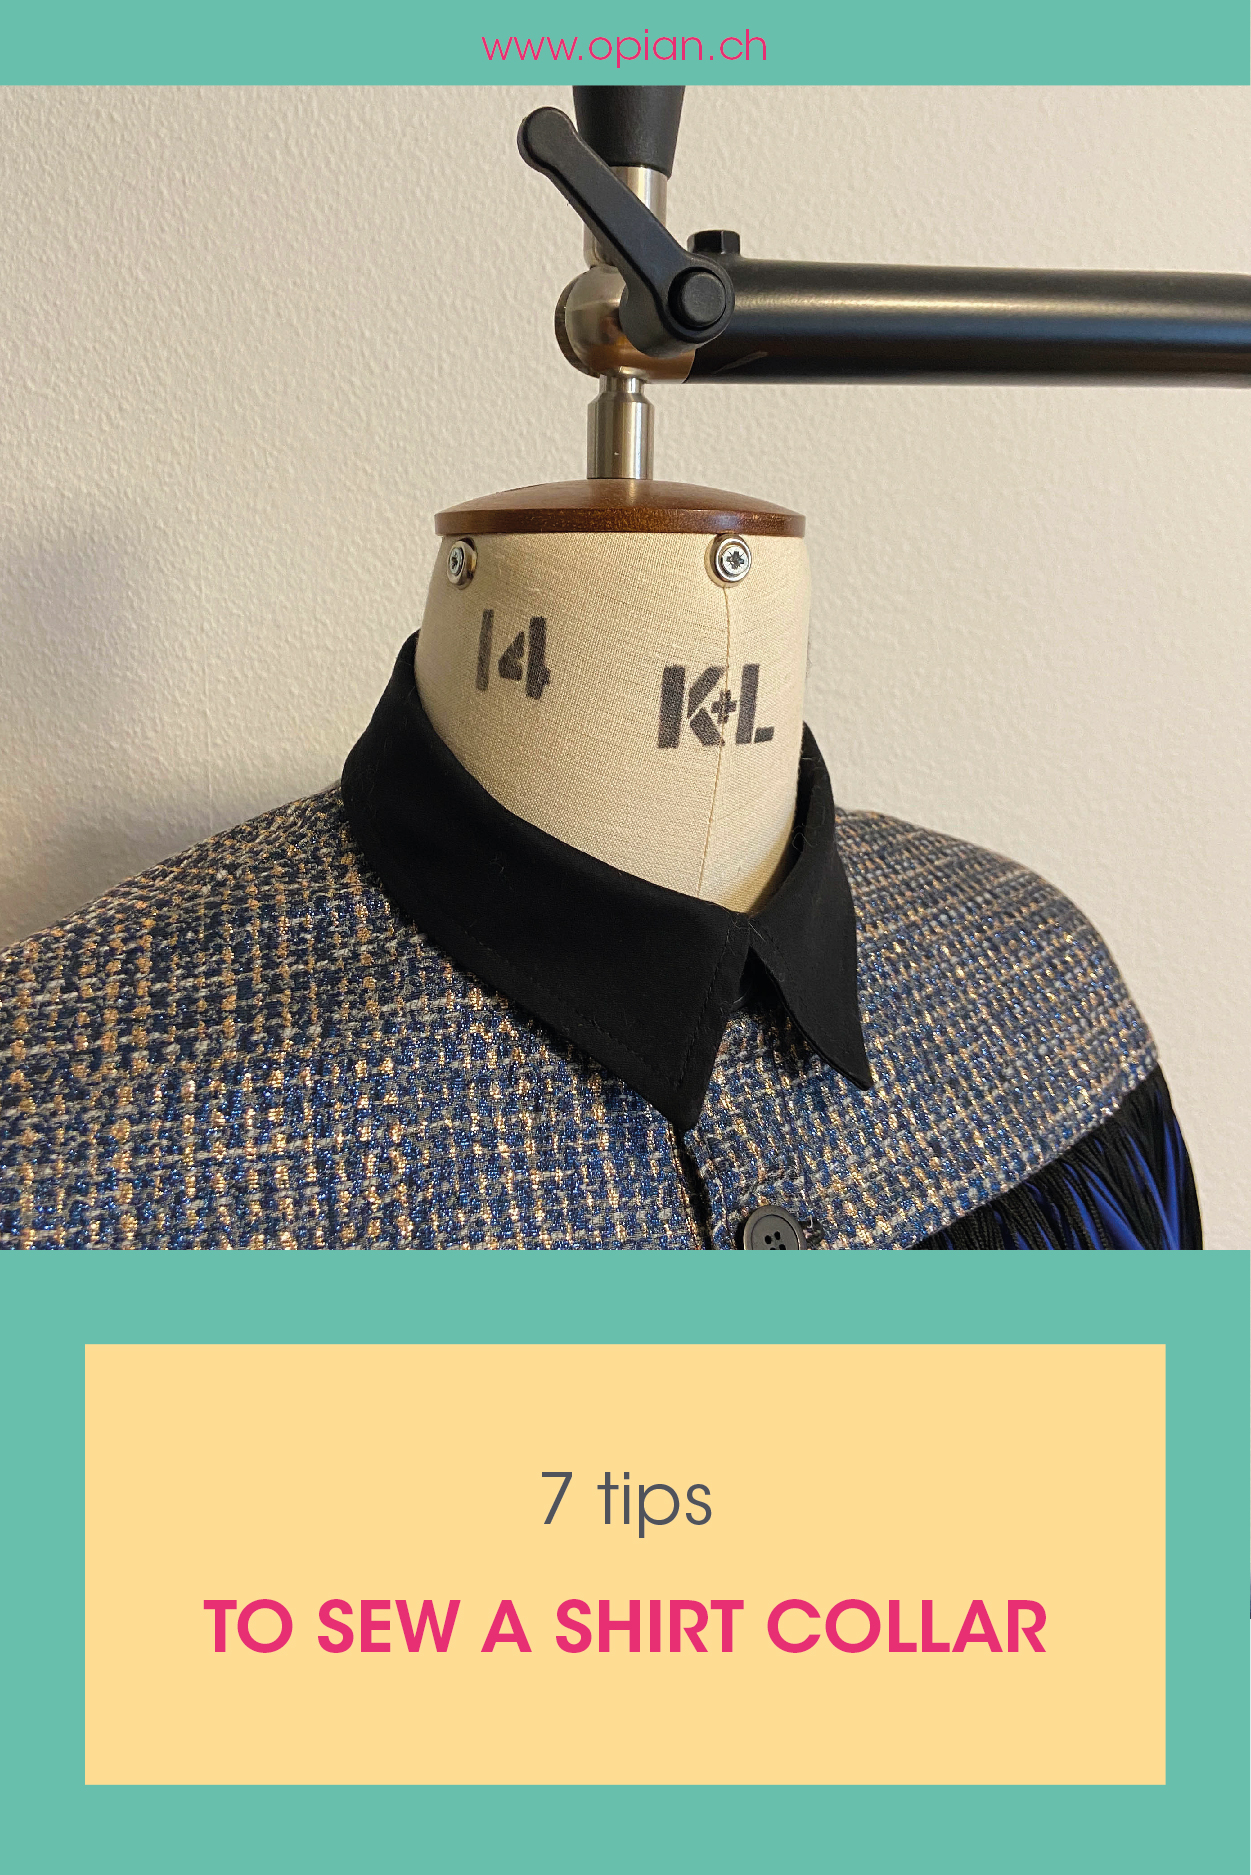
Sewing Tips | 7 tips to sew a shirt collar |
Published :
02/20/2022 09:49:13
Categories :
Sewing Tips
The collection of sewing patterns has recently got bigger with the CIVETTA blouse which includes three different types of collars. This element is a little more advanced level of sewing, but easily achievable with a little precision. So, I'm going to unveil some tips for a tailored collar with perfect finishes that you will be proud to show off.

Iron the fabric
This is the base of the base, but it cannot be repeated enough! The fabric must be ironed before cutting each piece and between each seam. The sharpness of a collar is played down to the millimetre, a fold or a badly ironed seam will give a lack of precision. So, do not hesitate to give it a good blow with the iron. The more, the better!
Interface the outer pieces
For good support, it is necessary to interface or interline the upper or outer parts of the collar. For all non-transparent and medium weight fabrics, I recommend adhesive interfacing. As for light and transparent fabrics, I recommend using a fabric with the same properties such as organza or organdie. On the other hand, for wool fabrics, I recommend taking a light to thicker toile depending on the desired result.
Mark the points of the collar
It is not always easy to aim for a specific point when sewing an angle, so a small trick marker dot at the tip of both angles will show you the exact spot where to stick the needle. Not to mention that the seams arriving and departing from the tip must be straight, otherwise the angle will be wonky.
Mark the curve of the collar stand
The collar stand being a narrow and curved band, it is not easy to follow the curve well either. So, it's worth marking the outline of the pattern with chalk or a trick marker. Mark the seam allowance with a metric tape every 5 to 10 millimetres. Or cut out the seam allowance from the pattern, then transfer the outline.
Make a "staircase" with the seam allowances
Once the pieces have been cut and checked, trim the seam allowances to 0.7cm, then cut the one of the inner pieces (which will be closest to the body once the garment is finished) to 0.5cm to make a staircase. This technique will avoid thicknesses and demarcations due to seam allowances and you will not need to notch them in the curves.
Fold the corners
Since the seam allowances are already reduced, it is not necessary to snip the corners. It is preferable for the good hold of the collar to fold them properly towards the inner and to maintain them when turning right side out the angle. In addition, it makes the corners more resistant and prevents damage. If necessary, push the corner with a stick to secure the point.
Check if both sides are symmetrical
And to help you too, before and after each sewing and ironing step, check if the two sides of the collar are symmetrical. Redo the seams if necessary, before continuing. Do the same once the collar stand is sewn.
Here are my 7 tips for a top collar. It's meticulous work which takes a little longer than the rest of the garment, but you can congratulate yourself once you're done!
So happy sewing and don't hesitate to tag @opiangeneve when using these tips.

