Pilatus | Dress Hack |
Published :
08/21/2022 21:00:22
Categories :
Inspiration
, Sewing pattern
, Swimwear
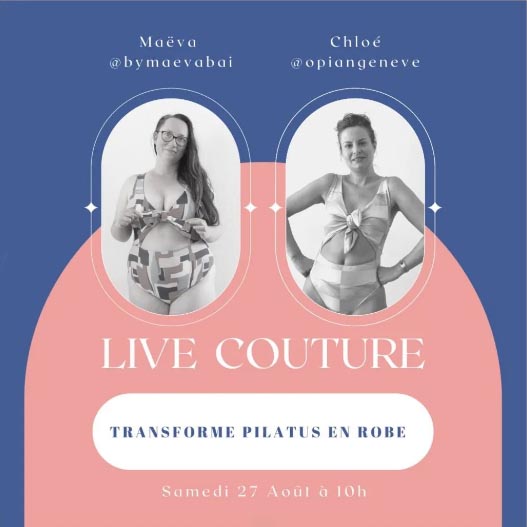
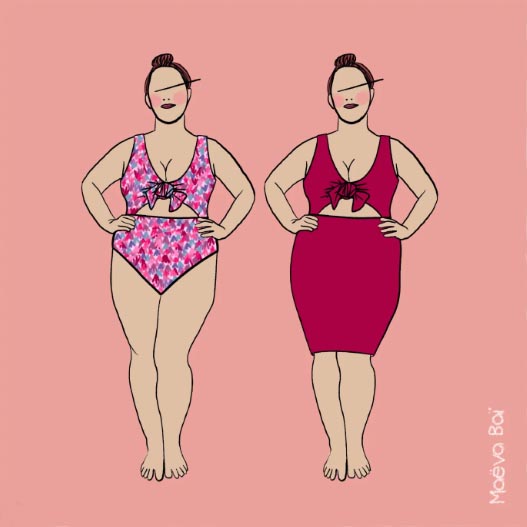
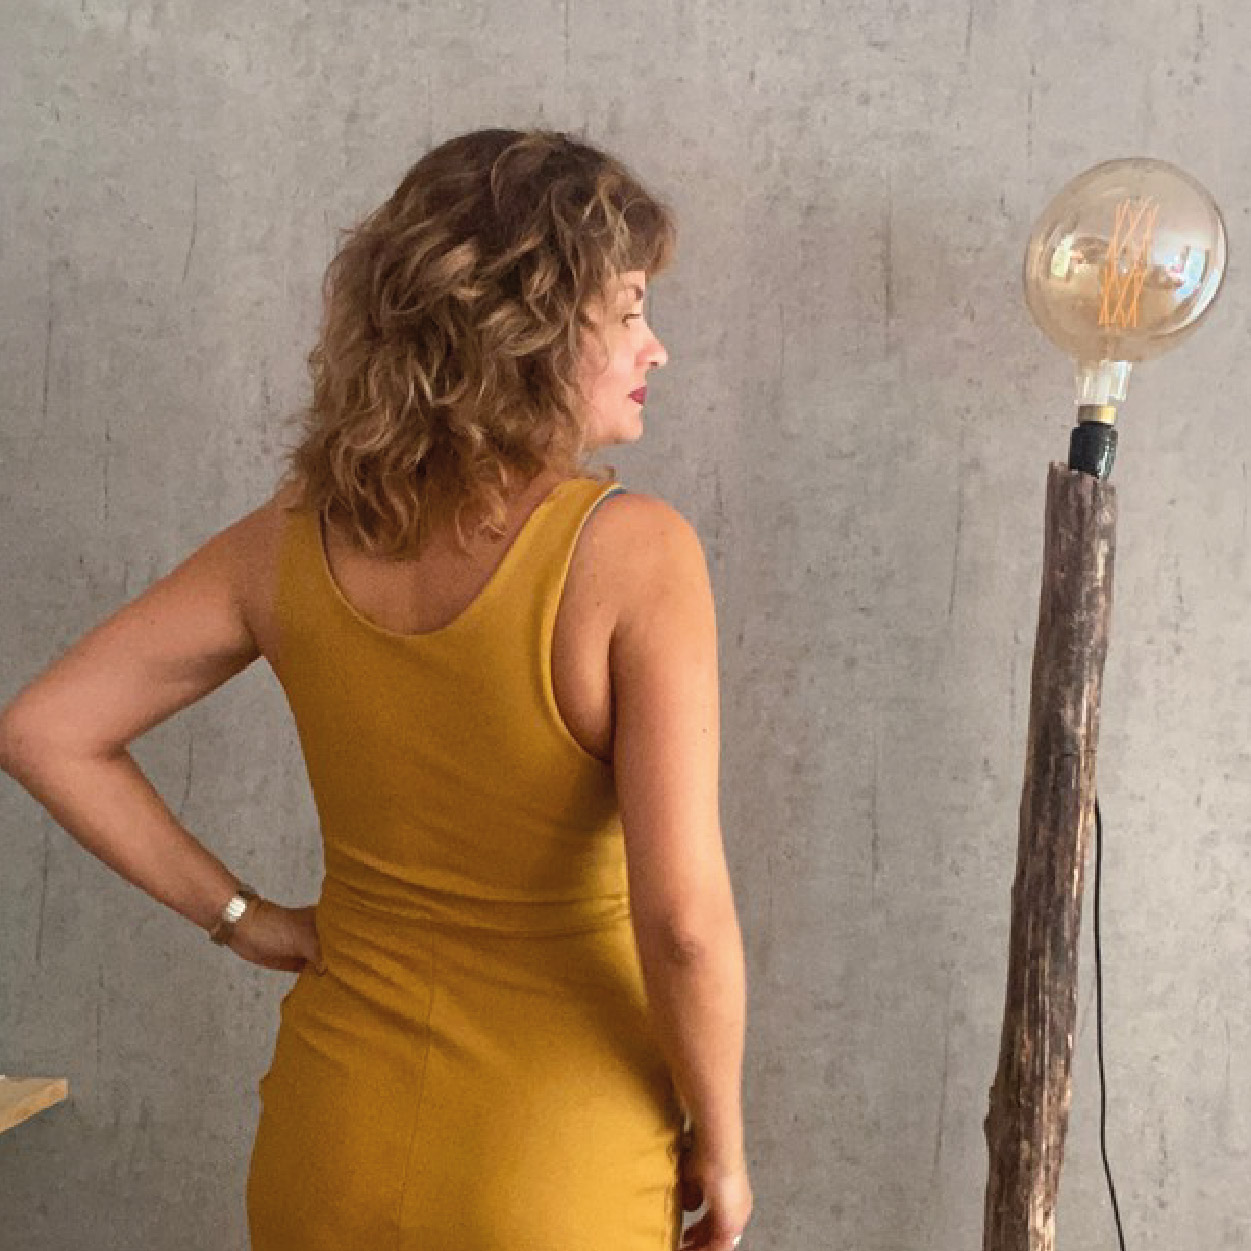
Based on an idea by Maëva @bymaevabai, we offer you to transform the Pilatus swimsuit into a dress! It's always a pleasure to see the inspiration that a model can give and this transformation will give you a completely different garment than the basic one. The result will be a fitted dress with the Pilatus swimsuit bow, as well as a slightly hobbled skirt above the knees with a slit at the back.


For that, you'll have to get out the rulers and the pencil to do some patternmaking with us live on Instagram on August 27th.
Necessary material:
- Pilatus swimsuit pattern
- pattern paper
- A sharp pencil
- A ruler
- A French curve
And to be able to reproduce more easily if you are not present for the live or if you need written instructions, I'll give you the procedure to follow to make the hack in this article.
Take your bust, waist, hips and hip height measurements
To choose your size, measure with a tape measure the bust (the widest part of the bust), the waist (the point where you lean sideways) and the hips (the widest part of the hips).
Also measure the height of the hips, i.e. the distance between the waist and the widest part of the hips.
Select your size on the Pilatus swimsuit size chart
If you're between sizes, it's best to go up a size because it's easier to go smaller than to go bigger. Print the top of the swimsuit and adapt if necessary. Make a 0.7cm line inside the pattern on the sides and bottom to mark the seam allowances and work more easily.
Change the top of the swimsuit
This part is optional according to your wishes. I chose to make a full back and reduce the front opening slightly.
For the back, trace the centre back to the waist, then join the side.
For the front, add 4cm at the waist towards the middle front, then redraw the bottom of the bow.
Redraw the waist line to get a nice curve.
Decide on the length of the skirt
Using a tape measure, measure the desired length from the waist to above the knees approximately = hem length.
Do the back
Please note: all the measurements given are without seam allowances, they will be added at the end of the transformation.
Waist circumference: to facilitate adaptation, I advise you to take the waist measurement of the Pilatus bodice
Hip circumference: take your hip circumference and deduct 6cm. Divide the result by 4, then deduct 1.5cm, eg (100cm - 6cm) / 4 – 1.5cm = 22cm
Draw a first straight line for the length of the back skirt according to the waist-hem measurement taken previously, which will be the centre back.
Then draw a perpendicular line for the waist, then indicate the side point according to the measurements of the top of the swimsuit.
Draw a second perpendicular line for the hips according to the height measurement of the hips, then indicate the side point according to the measurement calculated above 22cm.
Draw a third perpendicular line for the hem according to your measurements.
Hobble the hem
To slightly hobble the skirt, remove 2cm from the width of the hips on the side at the hem. In this case for the back, 22cm – 2cm = 20cm.
Form the side
Once all the measurements have been marked, connect the different points to form the side, taking into account the following information:
- the side from the waist to the hips is a curve
- the side from the hips to the hem is a straight
- hips should be flat about 4cm
Make a facing
Add a 4cm facing to the centre back on the bottom 15cm to make a nice slit. The back must be cut twice with a seam in the middle of the back, which makes it possible to walk even with a less elastic fabric.
Do the front
Follow the same process as the back, however the front is wider than the back and the hip width calculation is as follows: (100cm - 6cm) / 4 + 1.5cm = 25cm
The front must be cut once without sewing at the fabric fold.
Draw the waist line
Lay the front and back sides together, joining the waistline. Keep the middle front and back at a right angle for about 2 cm, then draw a nice curve.
Draw the hem line
The skirt being hindered, it is necessary to do the same process as for the waist line in order to make a nice curve.
Add seam allowances
Now add the 0.7cm seam allowances at the waist, sides and centre back. For the hem, add 4cm.
And to start, you need the Pilatus swimsuit. And if you are interested, there is also a sewing kit with pretty swimwear fabrics.


