
Published :
08/27/2023 17:14:26
Categories :
Sewing Tips
First and most important step is to clean the machine of all the threads and lint that form over time. A little dusting and hoovering will remove all this accumulated dust and not block the sewing machine.
The machine may need a little oil to work properly. When should it be oiled? It depends on each machine and how each person uses it. Personally, I notice that it makes a bit more noise when it needs hydration.
The spool is placed on the machine, it can sit horizontal or vertical depending on the model. So that it unravels correctly and does not block the tension, it must be placed right side up. To do this, check the user manual to show you the right way up.
Each guide, i.e. hooks and handles, must be threaded and in the correct direction. If one is missing, the tension will not be done properly. To check the correct threading, it is also necessary to consult the user manual of the sewing machine.
In addition, for proper threading, the presser foot must be in the raised position and the needle as well.
This is a seemingly insignificant step, however the sticker that remains can prevent the spool from unravelling evenly, causing the tension to go off. It is therefore opportune to remove them all.
The direction of the bobbin is also important. It may be that if it is put on incorrectly, sewing is not possible at all. However, check the correct sense in the machine's user manual.
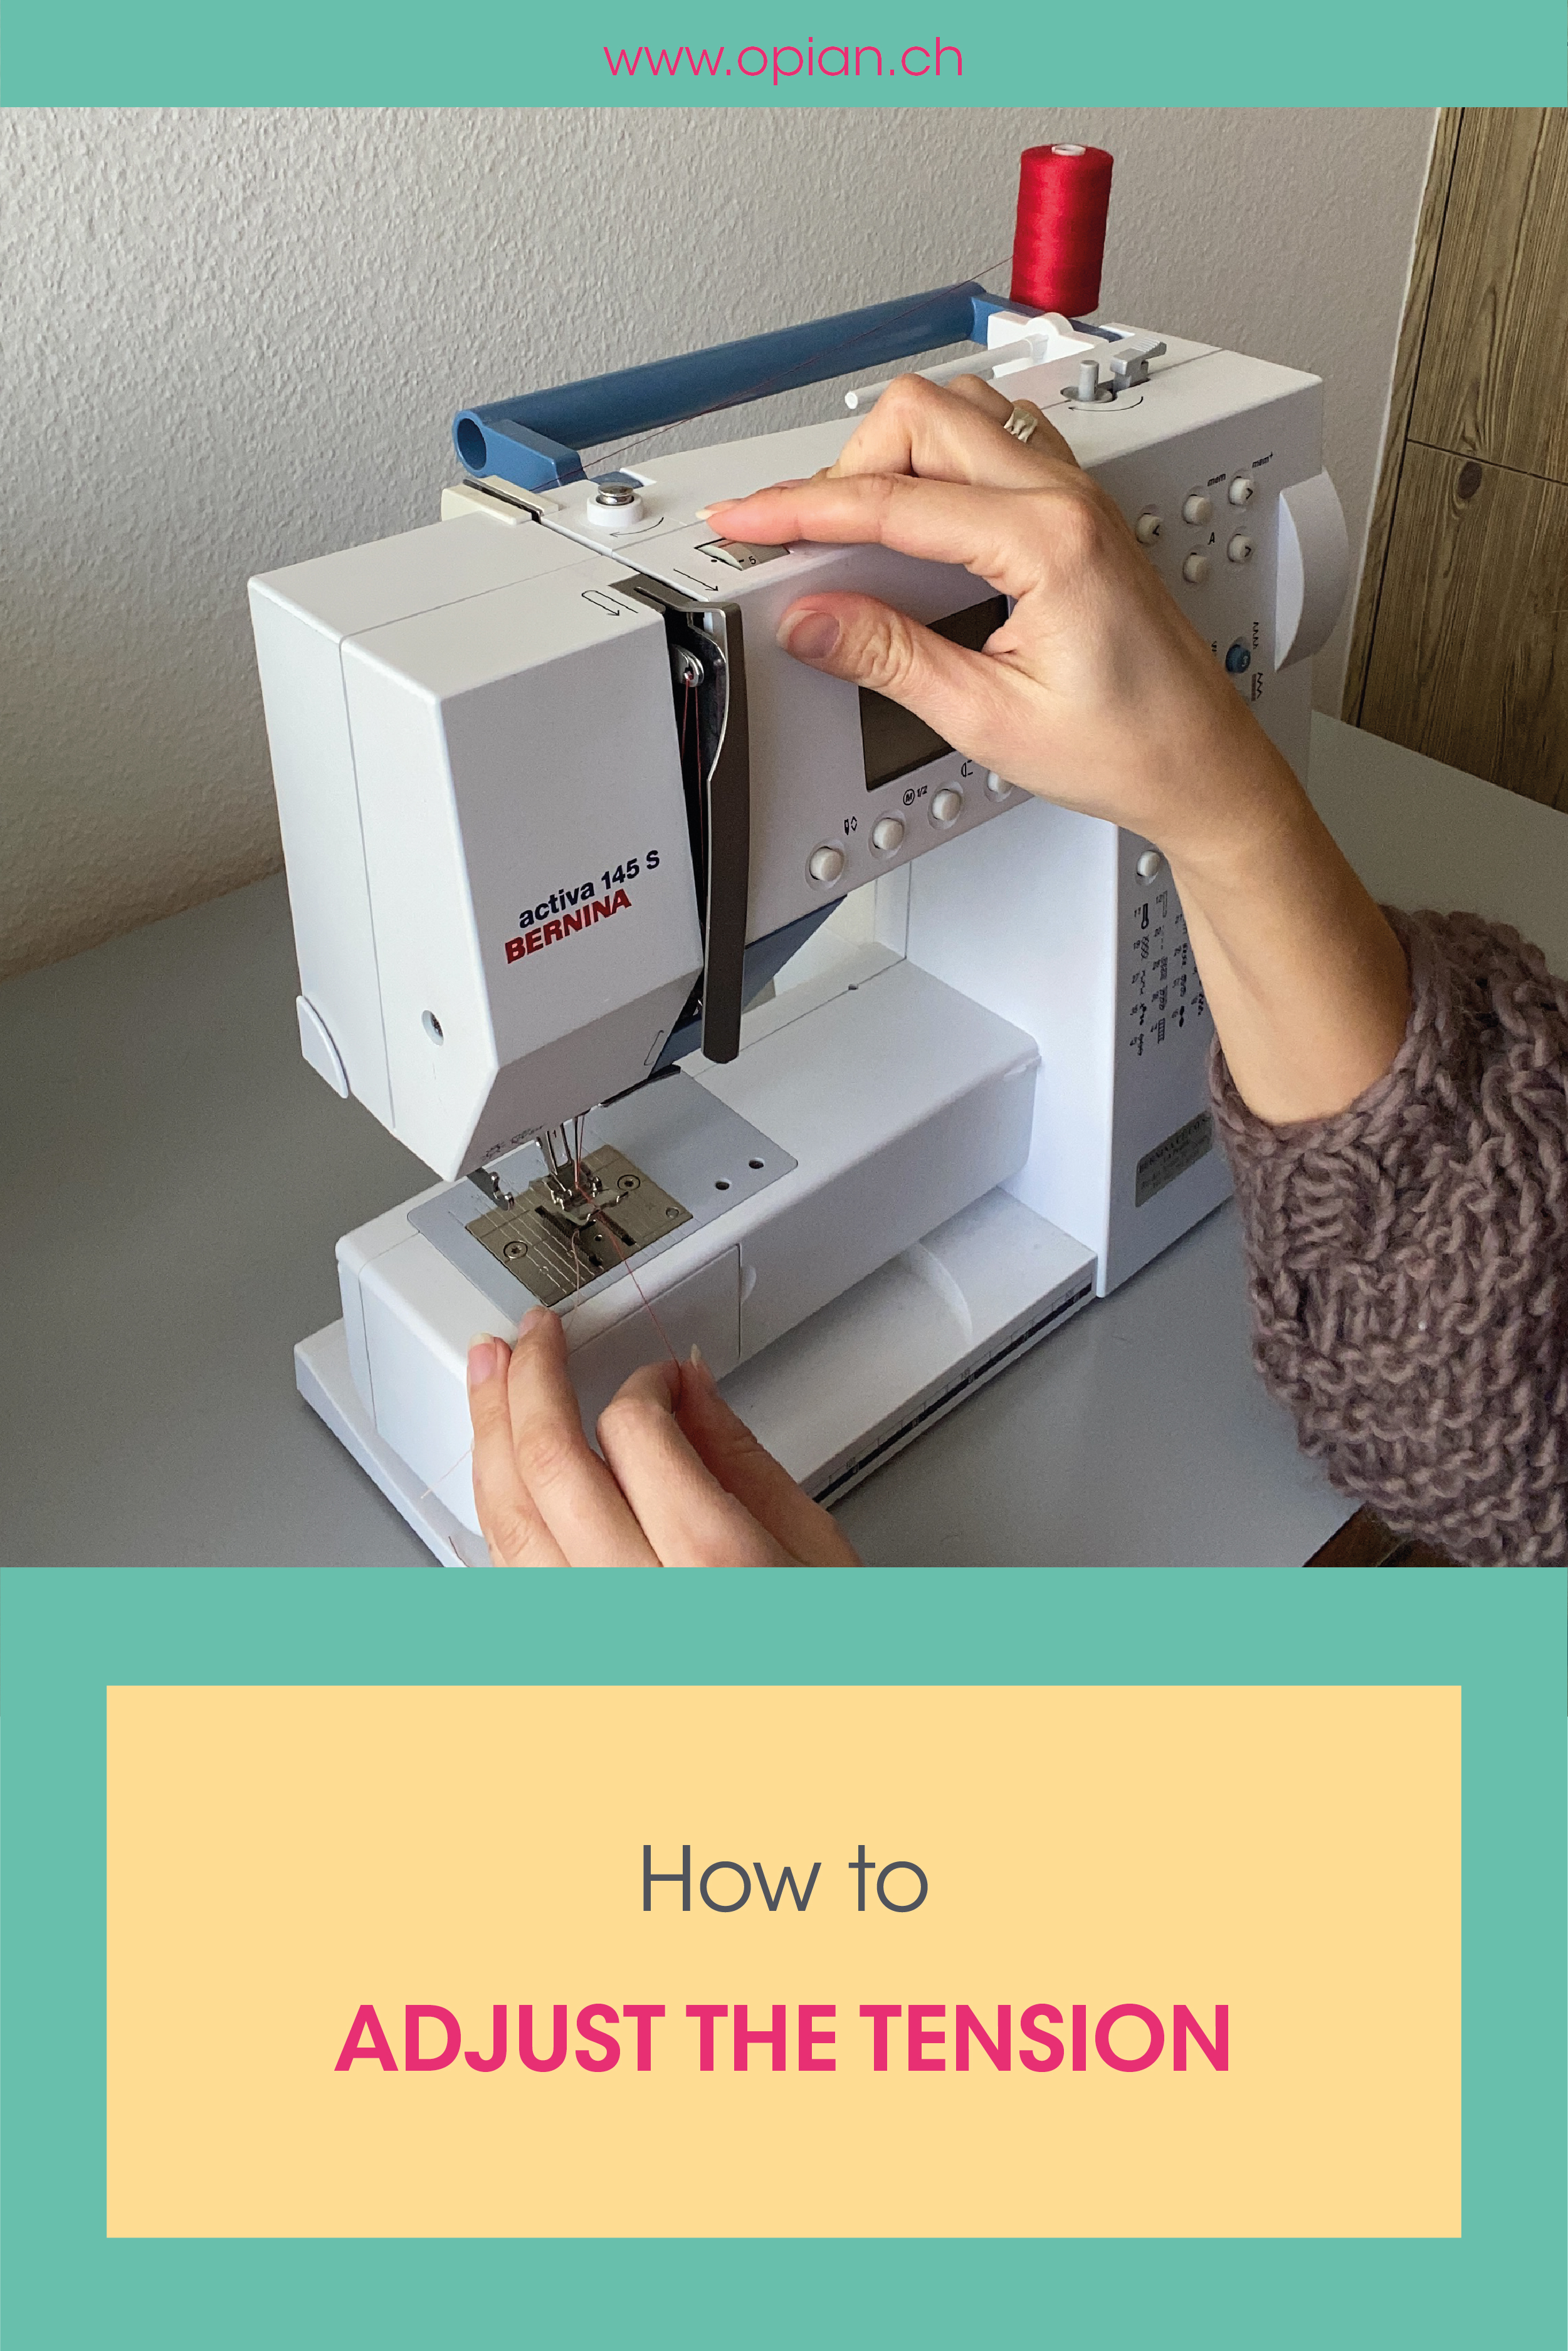
If after having done all the above-mentioned steps the tension is still not ideal, adjust the cursor by doing a few tests. Start with the default setting for your machine.
Then, if the bobbin threads are visible on the top of the fabric, lower the tension. On the contrary, if the top threads are loose and can be seen below, try increasing it. Experiment by gradually changing the tension until the threads are even.
In addition, the tension can vary according to the thickness of the fabric, it is always advisable to make a sewing test for each new project.
Hope these tips save you from hating your machine at times, but also taking it out for a service. If something still doesn't work, you may still need to give it a check. In addition, a small revision every five years is not a luxury.
![]()