
Published :
01/13/2026 16:21:40
Categories :
Sewing Tips
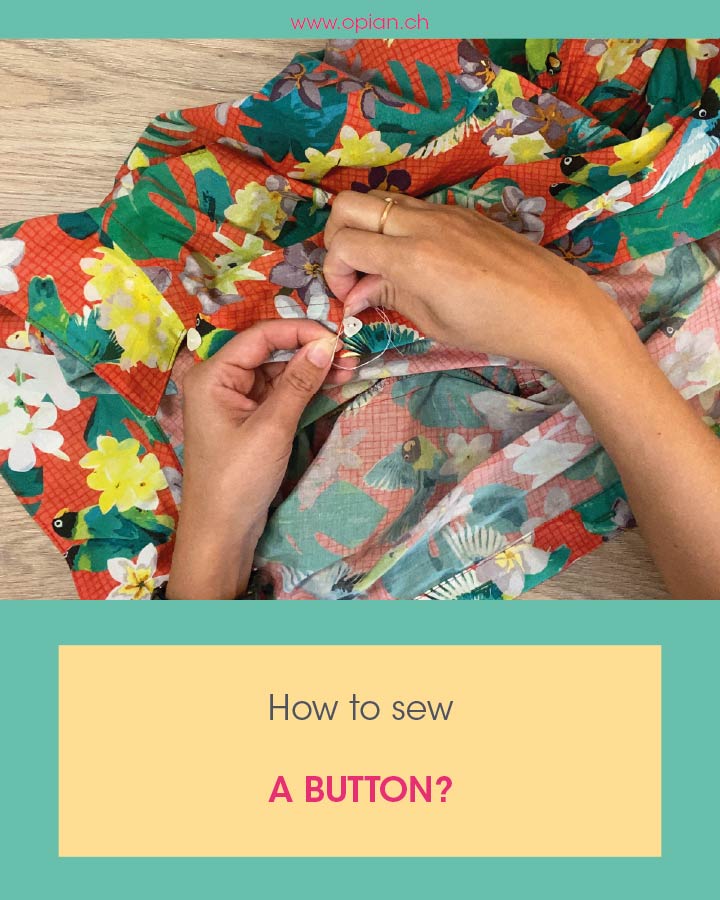
The length of an arm is ideal for sewing on a button.
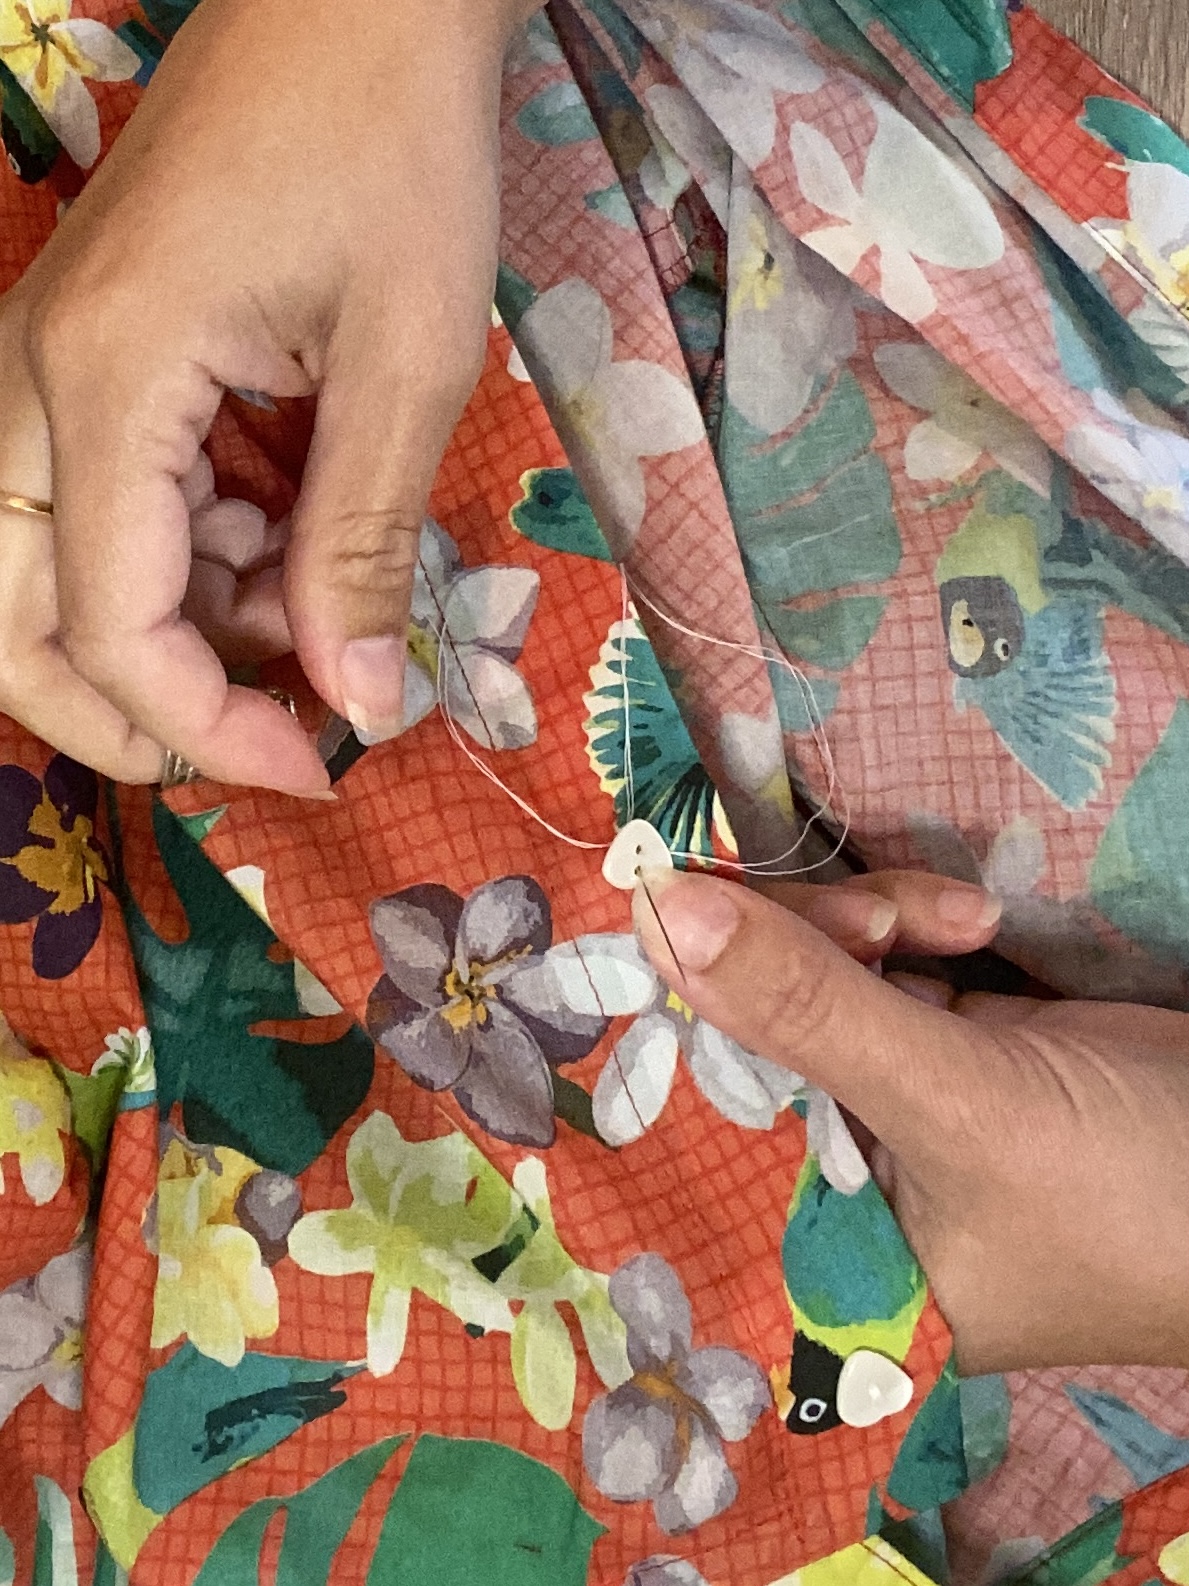
Fold the thread in half and thread both ends through the eye of the needle. The loop will replace the knot and will not be seen.

I'm a big fan of hand sewing with a thimble. You will see, it helps a lot.
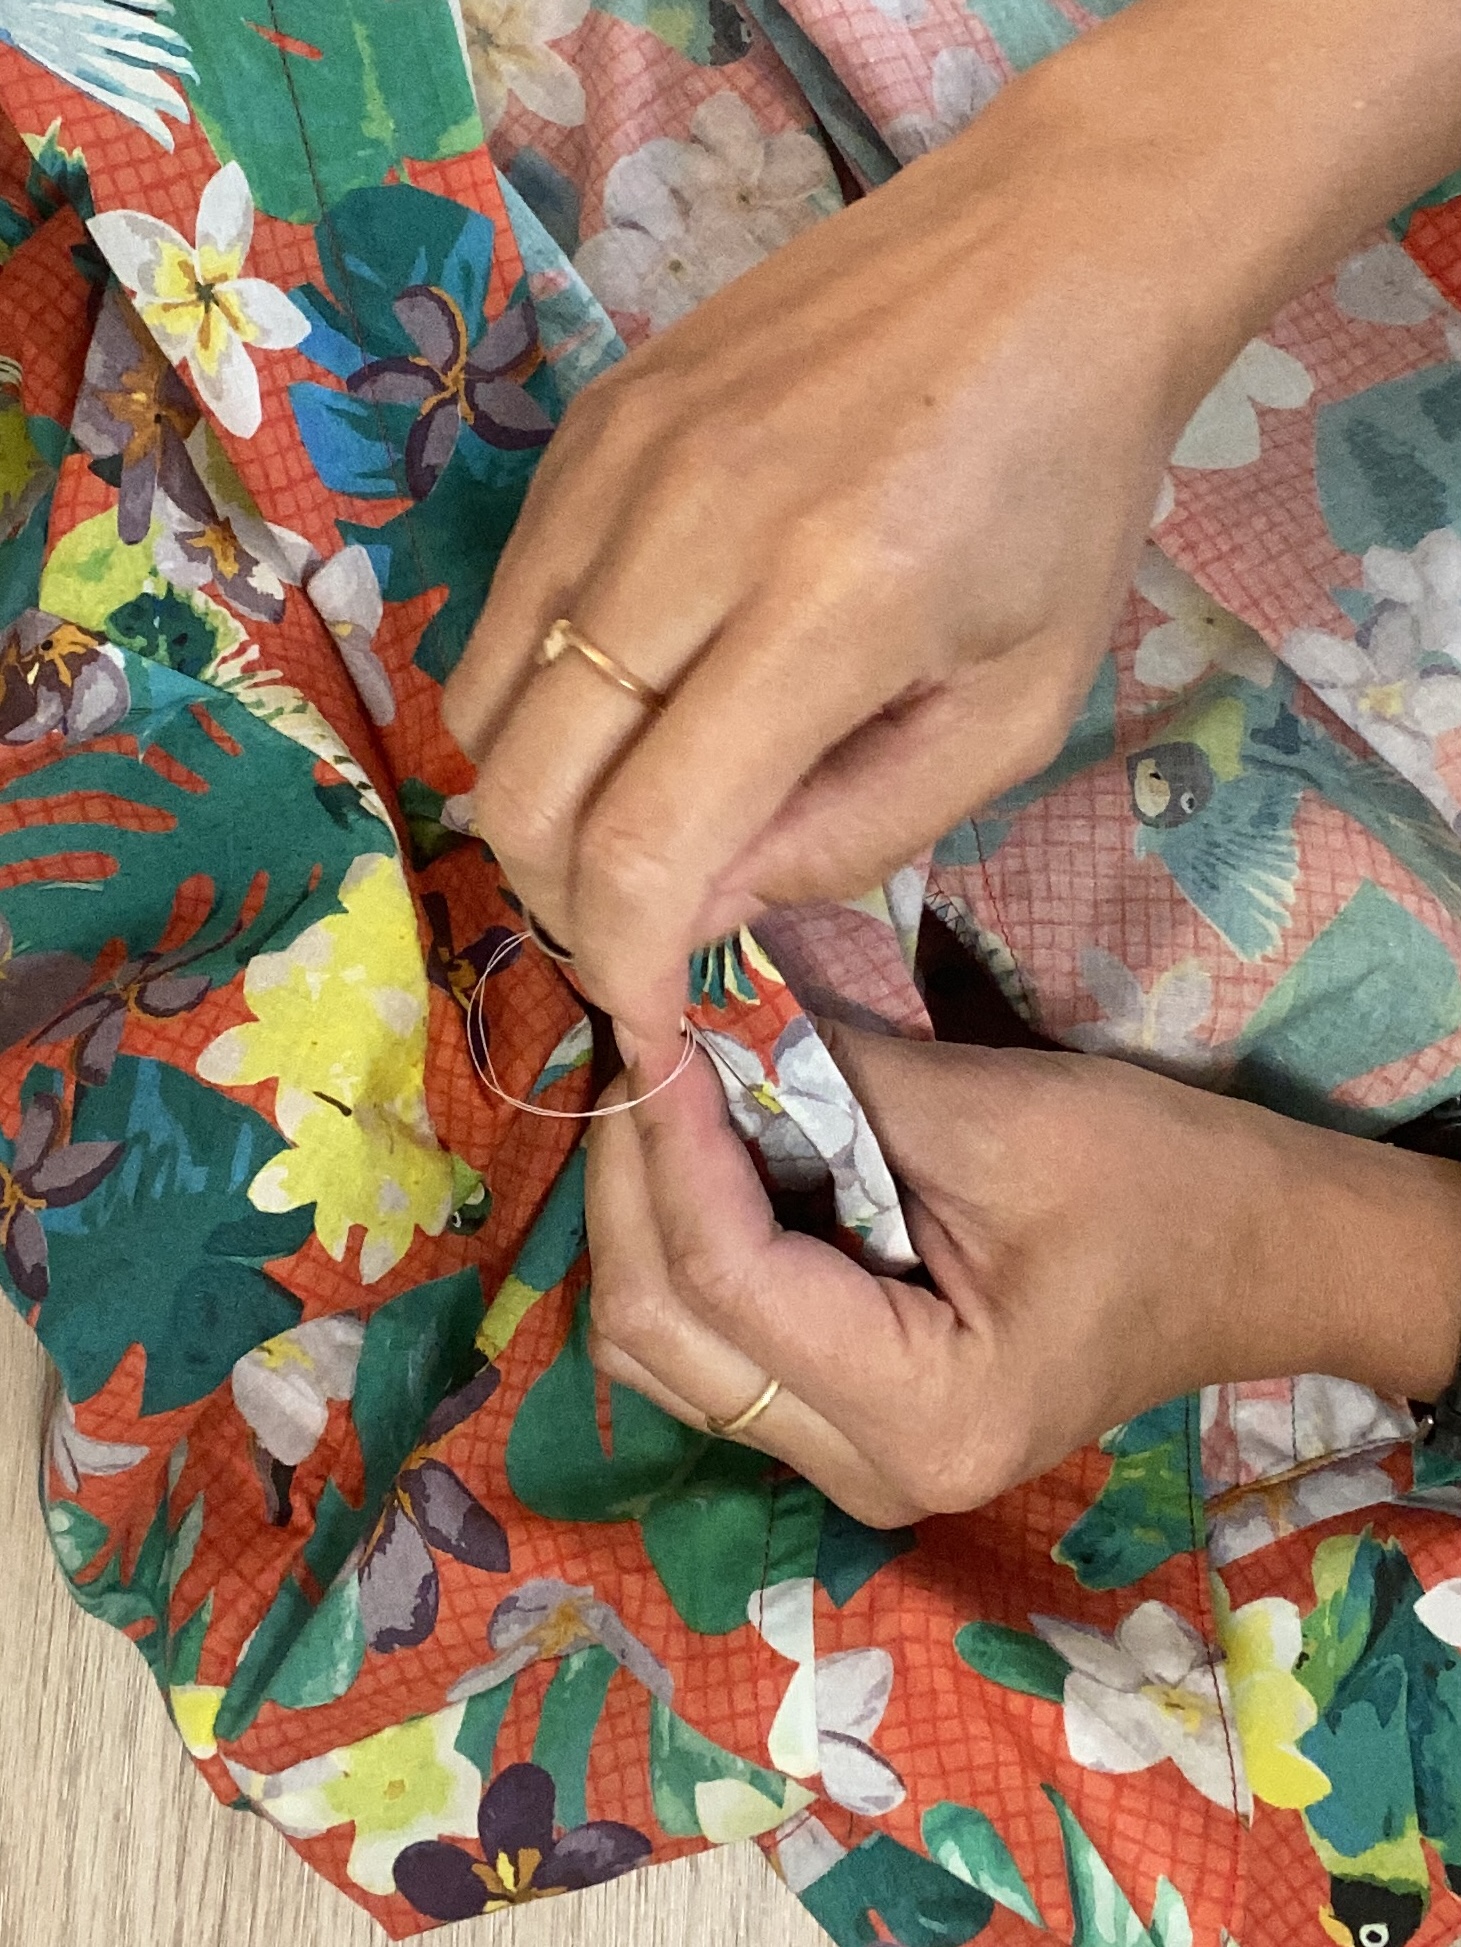
Mark the location inside with chalk or a trick marker.
Stitch the needle crosswise to anchor the button securely to the fabric.

Make a first stitch in all the holes of the button by stitching back to the stitches of the previous cross. Adjust the button so that it is straight and that there is a gap the thickness of the fabric to make a stem. That is, the button should not be closed to the garment otherwise there is no room.

As mentioned earlier, there needs to be room for the fabric between the button and the button placket in order to make a rod. To do this, make a first stitch, leave between 0.3 and 1.2cm depending on the thickness of the fabric, between the button and the button placket, then wrap the thread around the stem and tie a knot. Repeat all along the stem.
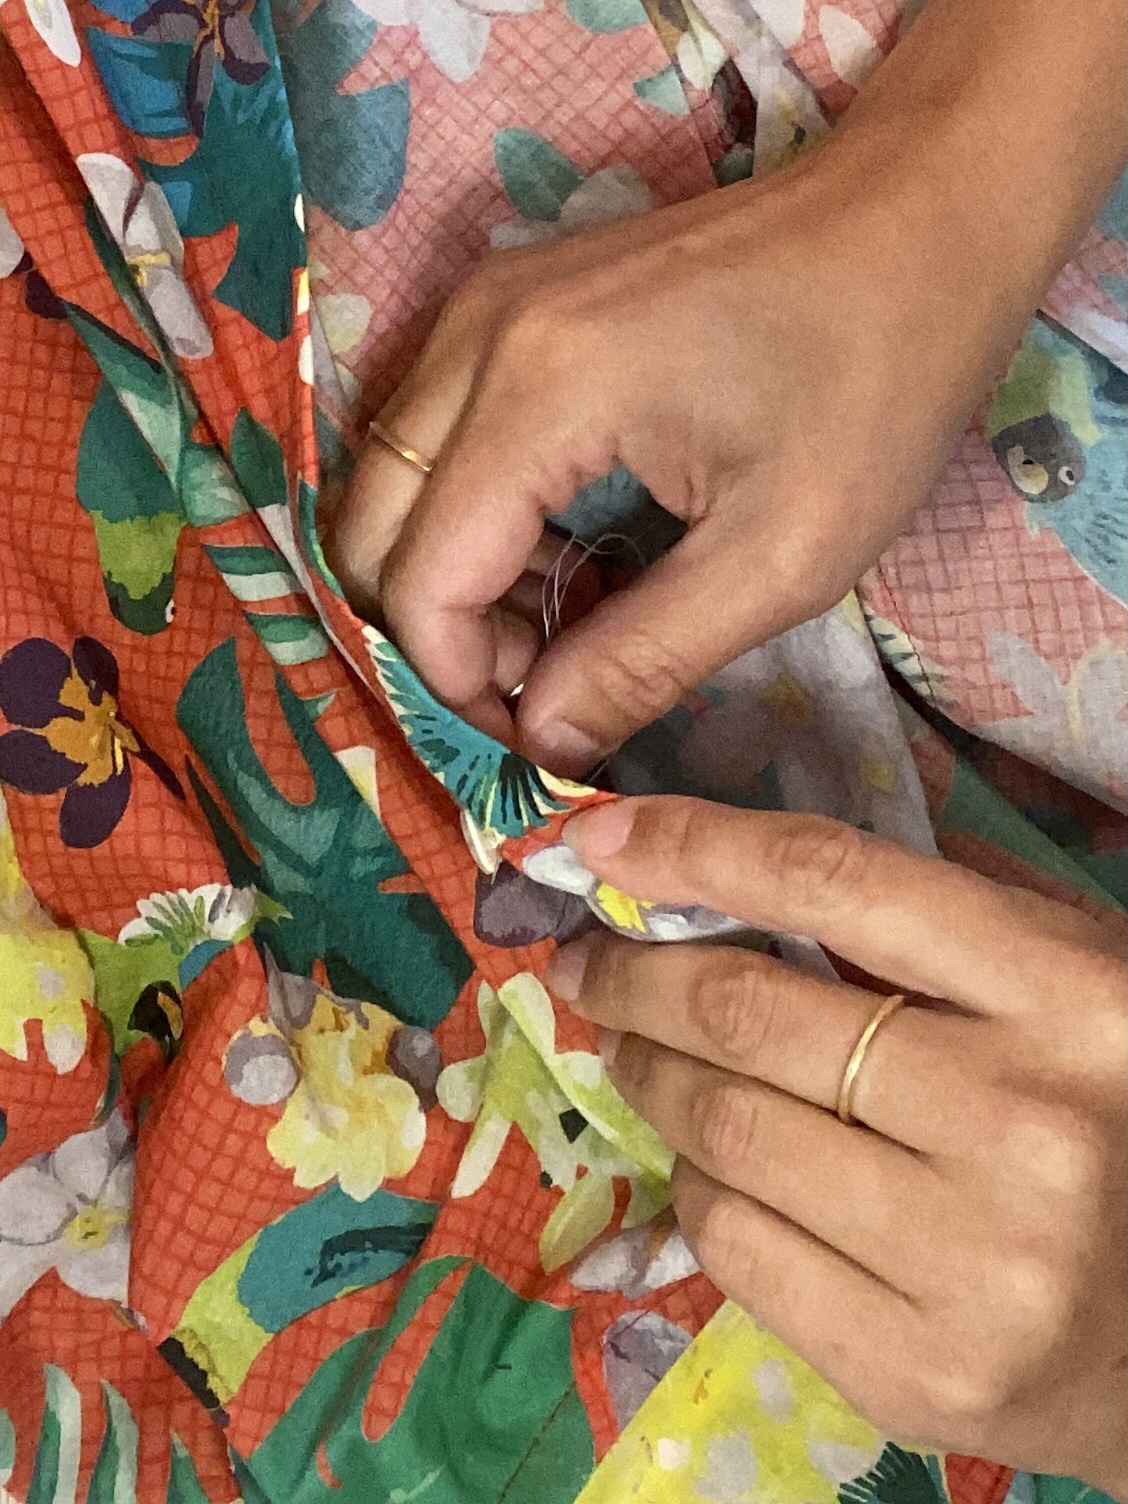
Make at least 5 stitches to hold the button properly, checking that there is no loop. Once all the stitches are done, stitch in the cross from the wrong side twice, tie a knot, stitch in the cross to come out in the stem and cut the thread.
You are now ready to sew all the buttons of the CIVETTA blouse according to the rules of the art!

![]()